Showing posts with label DIY. Show all posts

Wednesday, January 21, 2015

DIY Maple Latte

This is by far is my FAVORITE latte! Move over fancy coffee shop, I don't need to spend $3.50 for my daily coffee fix. I can do it at home, without the refined sugar and nasty additives. It is pure deliciousness!
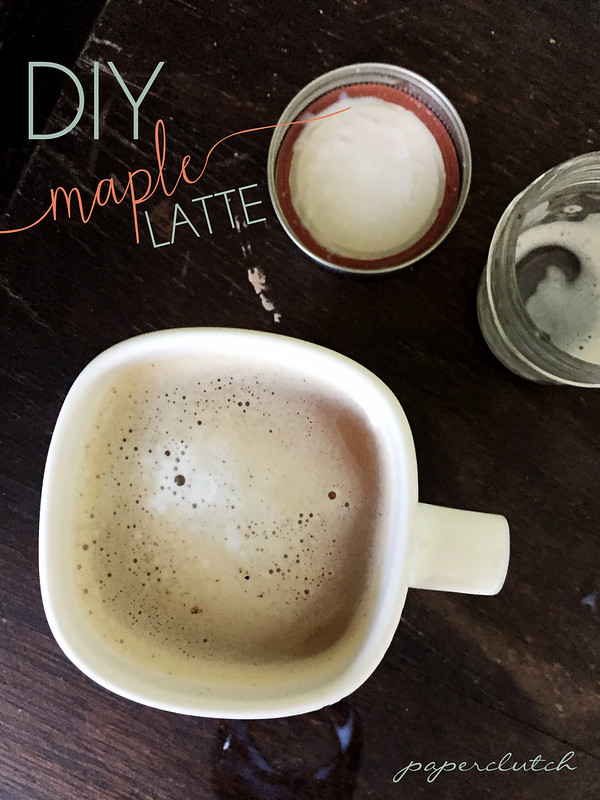
DIYLatte1

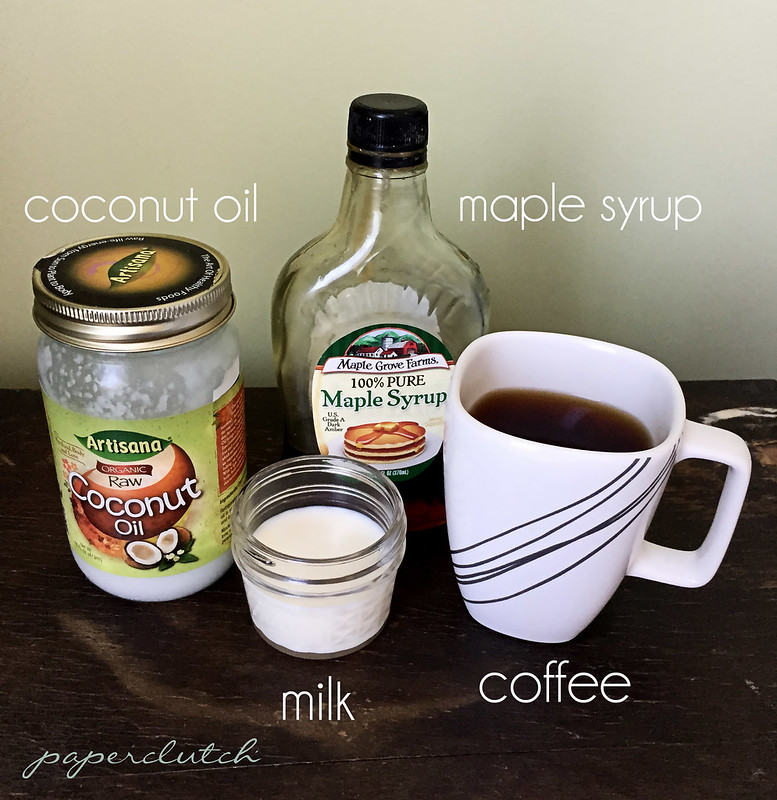
The ingredients & tools: 
  • A cup of your favorite coffee 
  • A small mason jar (or any jar with a lid) 
  • 1/4 Cup Organic Milk or Half & Half 
  • 2 tsp Maple Syrup 
  • 1 tsp *coconut oil (optional) *If you are just starting to consume coconut oil start with 1/2 tsp, it can cause a little stomach ache if you start out too strong.  Then you can increase your amount up to 1 tbs if you wish.
DIYLatte2
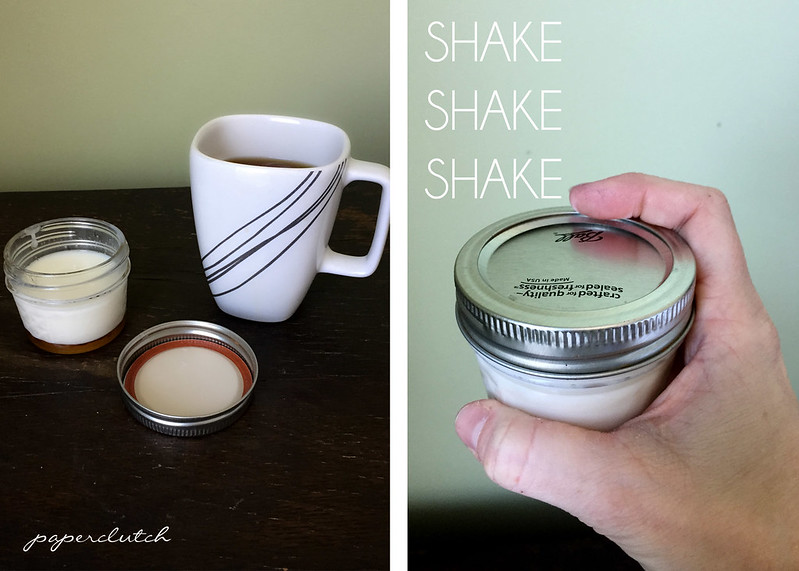
Pour 1/4 cup of milk or half & half into a jar, add the maple syrup and coconut oil (coconut oil will be solid). Pop your jar (uncovered) into the microwave for 25 - 30 seconds. If you are anti microwave warm your mixture up on the stove, just enough for your milk to steam then pour it into a jar. Take the milk mixture out of the microwave, put the lid on it and give it a good shake for at least 20 seconds.
DIYLatte3
Pour the frothy mixture into your hot coffee.
DIYLatte4
There you have it. A delicious DIY latte. 
DIYLatte5

Tuesday, July 15, 2014

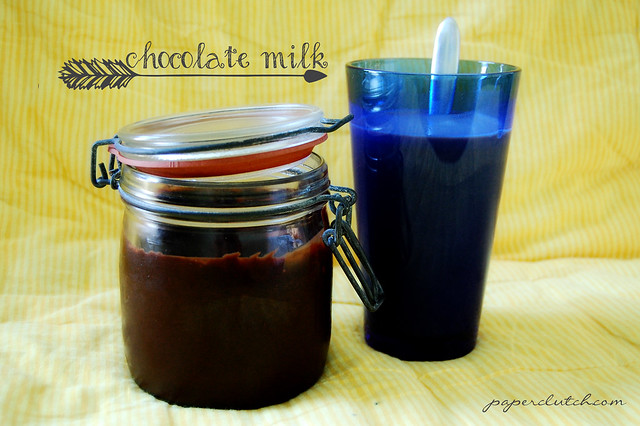
Homemade Chocolate Syrup Goodness

My family is pretty much obsessed with chocolate syrup.  It was one of the last items we go rid of when we started eating more "real." I knew my husband and oldest would not give up chocolate milk so I decided the next best option was to make my own. 
Chocolate Syrup ; http://paperclutch.blogspot.com

Honestly, have you ever looked at the ingredient label of your chocolate syrup in fridge? If you don't have a bottle handy, this is the list of ingredients.
HIGH FRUCTOSE CORN SYRUP; CORN SYRUP; WATER; COCOA; SUGAR; CONTAINS 2% OR LESS OF: POTASSIUM SORBATE (PRESERVATIVE); SALT; MONO- AND DIGLYCERIDES; XANTHAN GUM; POLYSORBATE 60; VANILLIN, ARTIFICIAL FLAVOR
Ick! I don't understand why the food industry has to make it so complicated when it can be so simple, only 4 ingredients.  

Chocolate Milk

Ingredients:

1 1/4 cup Organic Cane Sugar 
1 cup Coco powder
1 cup + 3 tbs. Water
1 tsp. Vanilla

Directions:


1) In a medium pot, mix sugar and coco together.

2) Turn on your burner to medium heat and add the water in slowly.  Begin whisking the water into the sugar/coco mixture. Make sure you get around the edges of your pot, sometimes the sugar and coco like to hide out and cling to the side.

3) Continue whisking until the sugar and water are well combined and the chocolate begins a low boil. Whatever you do, don't step away from your pot or you will have burnt chocolate, trust me on this one. 

4) Let the mixture boil for 1 minute. 

5) Remove from the burner and let cool for several minutes.

6) Add the vanilla and stir.

7) Transfer to a pretty little dish and serve or store.

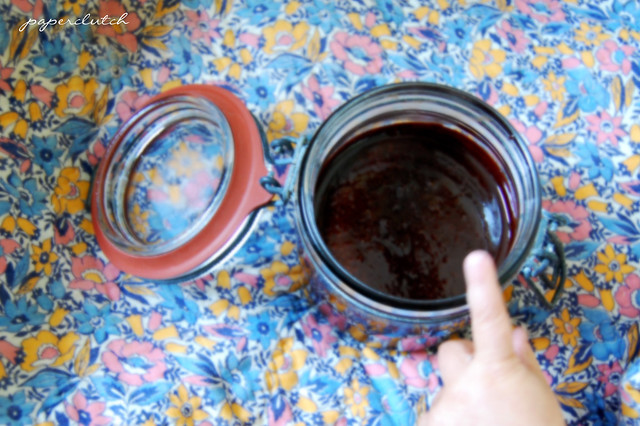
Tada you have yourself the most delish chocolate syrup around. This keeps for a few weeks in the fridge. As long as little fingers are not involved.

Chocolate Syrup http://paperclutch.blogspot.com

Thursday, July 10, 2014

Kid's Art Display - DIY

I am obsessed with children's art.  I love the whimsical images, the wild concepts. Who wouldn't love a square cow wearing lace.
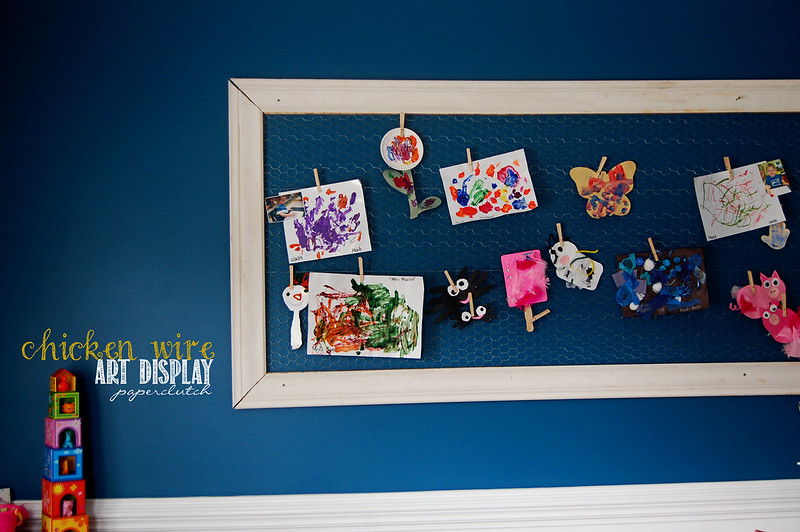
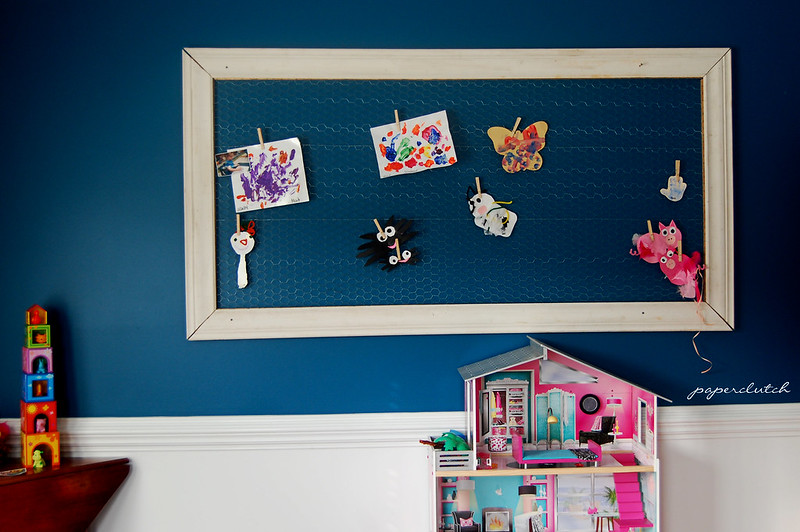
Kids art display - chicken wire But let me be honest,  as  much as I love my children's art, it has literately turned me into a hoarder.  These little gems are all over my house, in my car, and at my office.  I just have a hard time letting go {apologies for those who just started singing the Frozen song right then}.

The fridge could handle no more so I enlisted the help of my husband to construct a top of the line art display. 
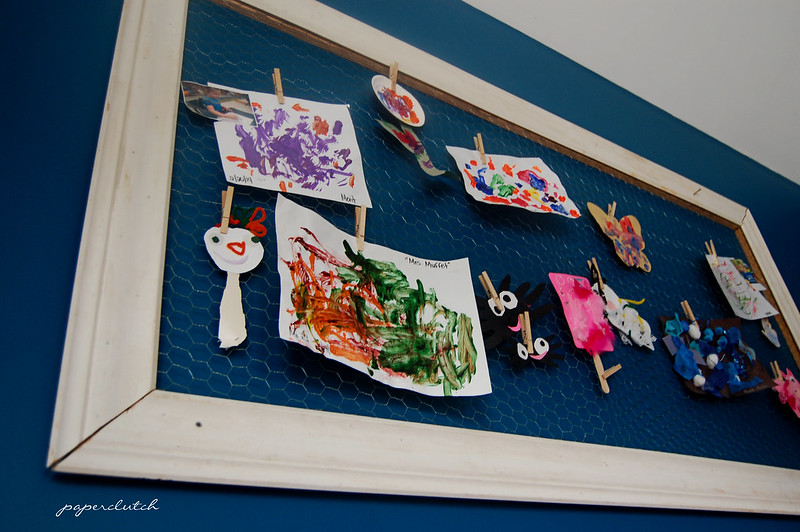
Kids Art Display
Unfortunately, I do not have step by step instructions, but I will give you a brief overview of how he did it.

What you will need:
Frame - constructed yourself or purchased
Chicken wire
Heavy Duty Staple Gun 
Wire cutters
Clothes pins

What to do:

1) Construct a frame. We used crown molding found under our house.  Anything would work here, even a large picture frame if you don't have the tools to construct your own. I think using up-cycled wood gave the frame extra character, not to mention it was free.  I like free.

2) Flip the frame over and measure out how much chicken wire is needed to cover the back side of the frame.  Cut the wire to size, about 1 -2 inches larger than your opening,  then staple it on one short side and work your way across, making sure the wire is pulled as tight as possible when you staple. This was tricky. We were not able to get ours completely flat but it added to its charm.

3) Hang your art display.  My husband drilled that sucker directly into the wall since it was so heavy. You could also use picture hanging hooks if your frame is smaller.

4) Last but not least, add your little one's creations using clothes pins.


Kids Art Display BArtDisplayA Tada, you have a nice spot for all of your kids doodles. 


Tuesday, June 24, 2014

Pretty little backdrop

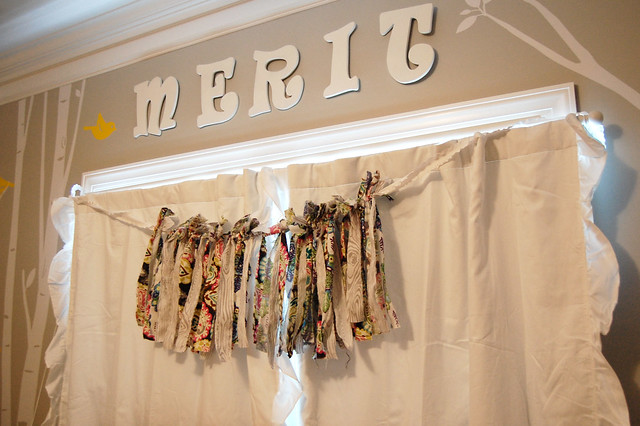
I am in LOVE with fabric garland, and thank goodness it is so simple to make. You may find yourself dressing up every window or party with these beauties.
18You can even turn one into a fancy dress up skirt for your little one in a pinch. 11 All you need:
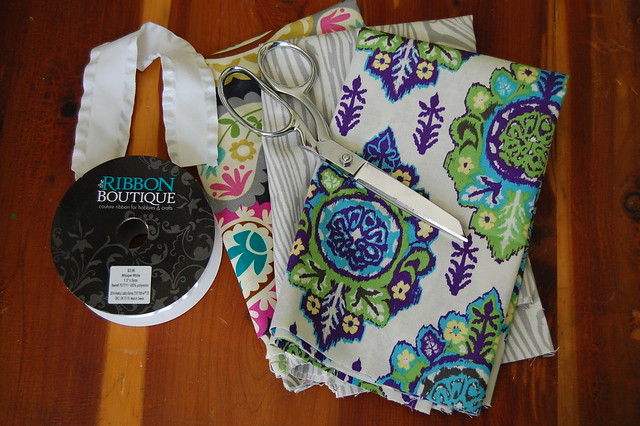
*Several pieces of fabric - between 1/2 - 1 yard. {I  was feeling cheap this day so I only grabbed 1/2 yard of  each. In hindsight I would have grabbed a yard.}
*Scissors
*Ribbon
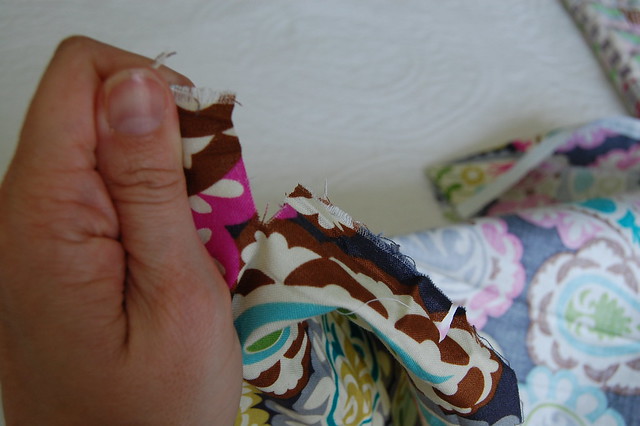
1Cut slits in your fabric about 1-2 inches apart then rip the fabric into ribbons.  If you are perfectionist and ripping fabric makes you nervous, or could lead to a panic attack, feel free to use scissors. Personally I find it to be very therapeutic.

4GRRRRR
3
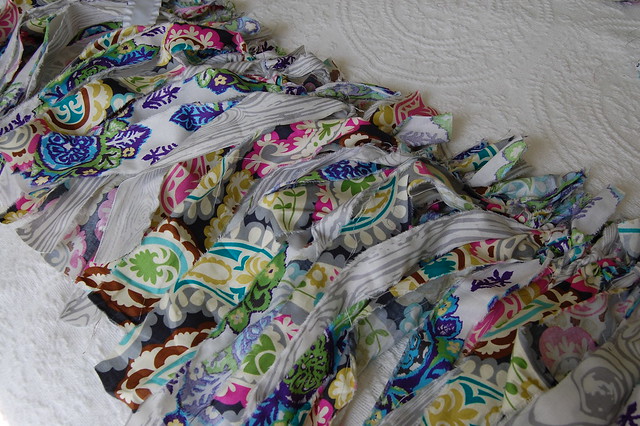
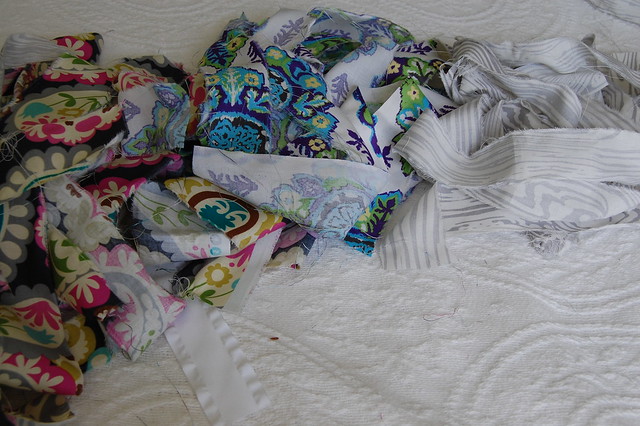
Keep ripping that fabric until you have a heap of little fabric strips.
5
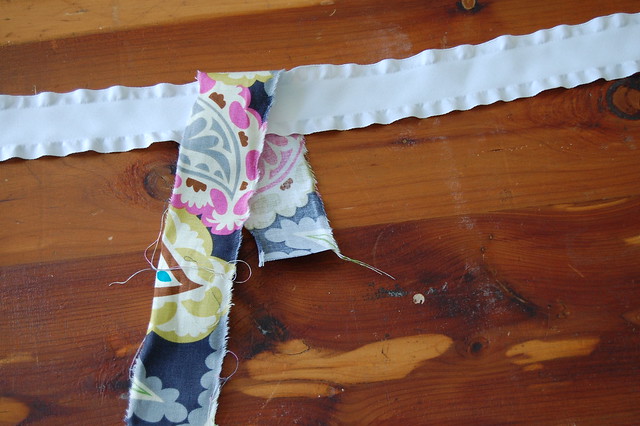
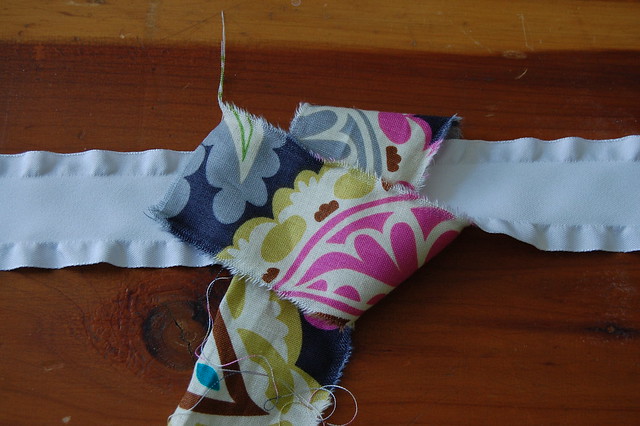
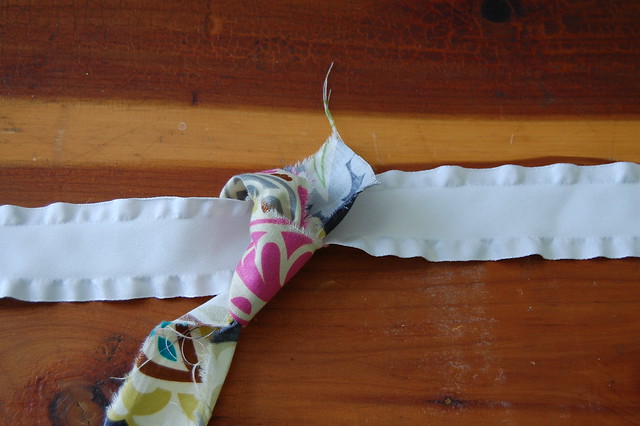
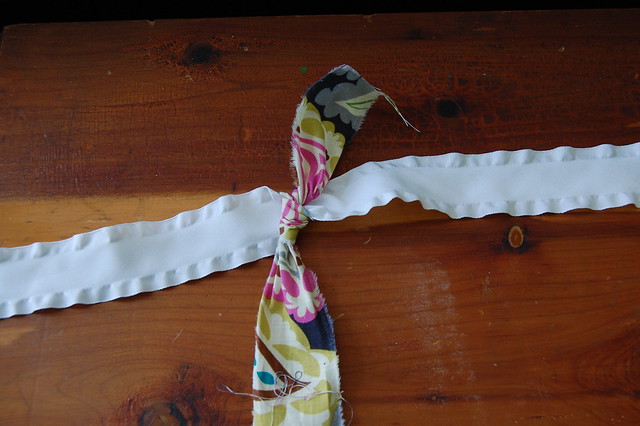
Then simply hook a fabric strip around the the ribbon and tie a knot.
6
7
8
9
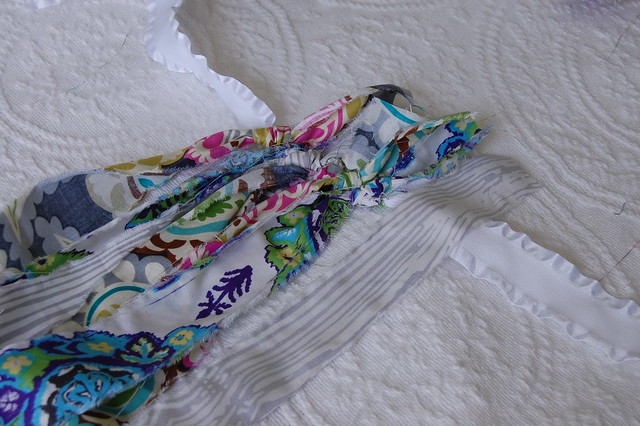
Work your way down until you have your desired length.
10
Tada, you've got yourself some fancy fabric garland.
13