Showing posts with label tutorial. Show all posts

Tuesday, July 29, 2014

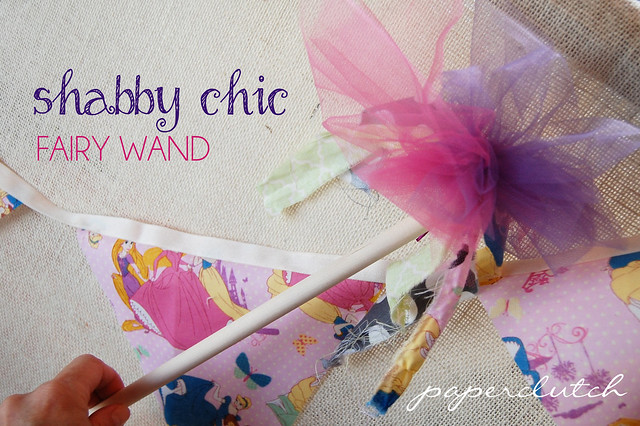
Shabby Chic Fairy Wand

I have a kid who is obsessed with playing dress up. As soon as she gets home from school she is stripped down and digging in the dress-up drawer for a dress, crown, and wand. I decided to feed her obsession and create fairy wands for her and her friends at her 4th birthday party.
Shabby Chic Fairy Wand
This craft is rather inexpensive and crazy easy. I did have a lot of parent participation given this activity with with 4 year old kids.
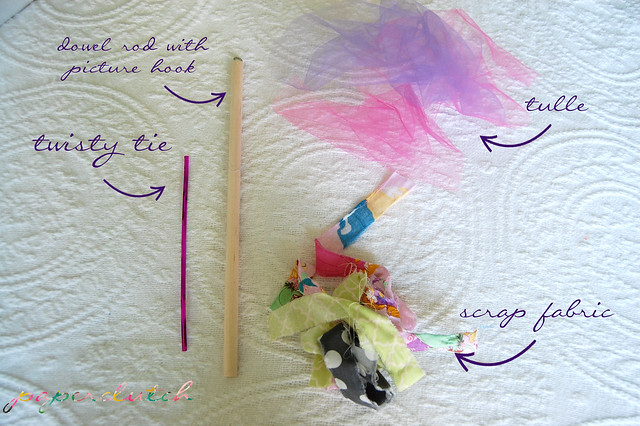
What you need:
Dowel Rods
Picture hook (you know the round ones that come in a picture hanging kit with a screw end)
Fabric scraps or ribbon
Tulle
Twisty Tie
And the ability to tie knots
Shabby Chic Fairy Wand First you take a picture hook and twist it into one end of the dowel rod. I found this rather hard, it took me like 15 minutes to get one in.  My husband on the other hand did the remaining 11 in like 10 minutes. Awesome, so my advice is to find your husband and have him do this step if you are making more than one.
Shabby Chic Fairy Wand
Take about 3 strips of fabric or ribbon and feed it through the hook then tie a knot in each. The 3rd piece may not even need a knot. Next you need to make your tulle poof and attach it to the picture hook.
Shabby Chic Fairy Wand
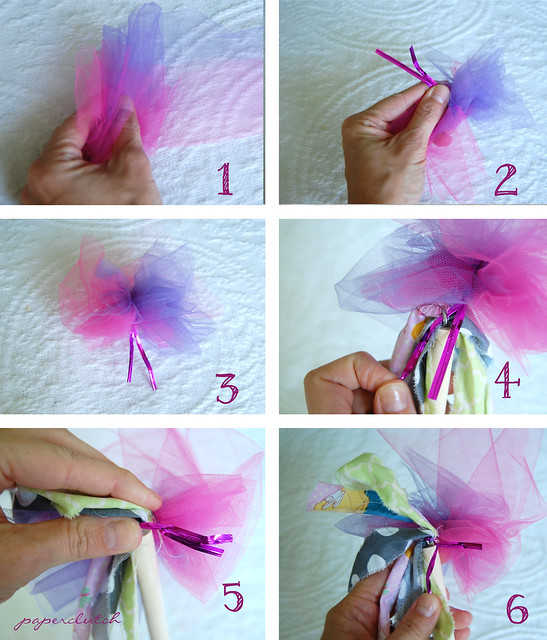
First take your strip of tulle and fold it up accordion style.  I used 2 scrap pieces (to create a multicolored effect) and when combined measured approximately 8" wide x 2.5 ft long. Do not strive for perfection when folding, you really just want a bunched up ball of tulle. Then, take your piece of twisty wire and wrap it around the middle of your folded tulle and twist to create a poof. Take the twisty wire and feed it through the picture hook and twist to attach.
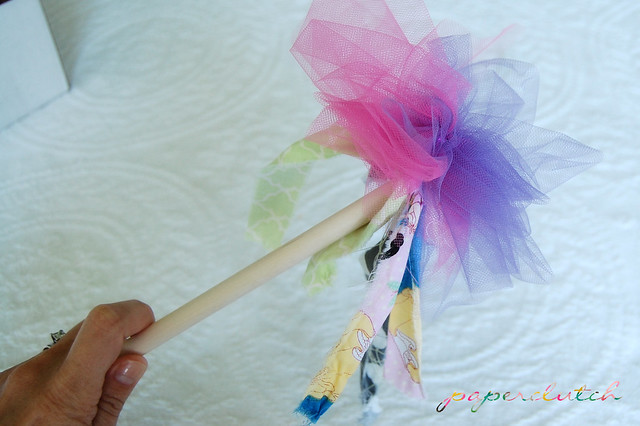
Shabby Chic Fairy Wand There you have it, a shabby chic fairy wand.

Thursday, July 10, 2014

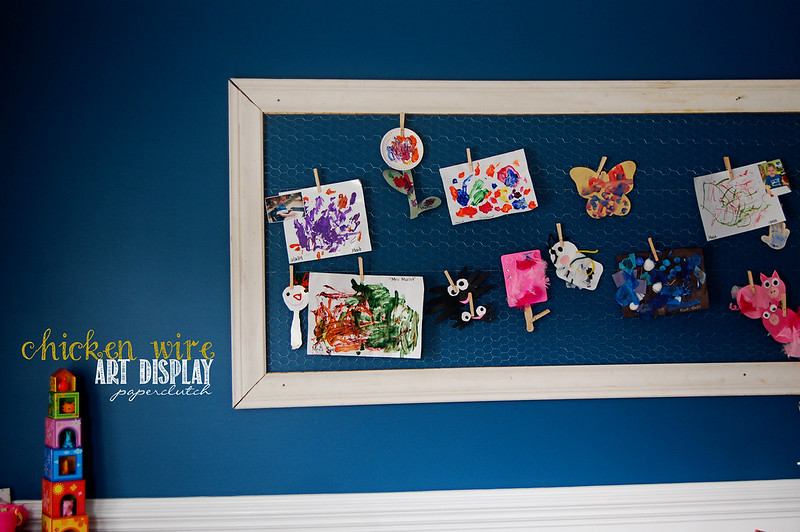
Kid's Art Display - DIY

I am obsessed with children's art.  I love the whimsical images, the wild concepts. Who wouldn't love a square cow wearing lace.
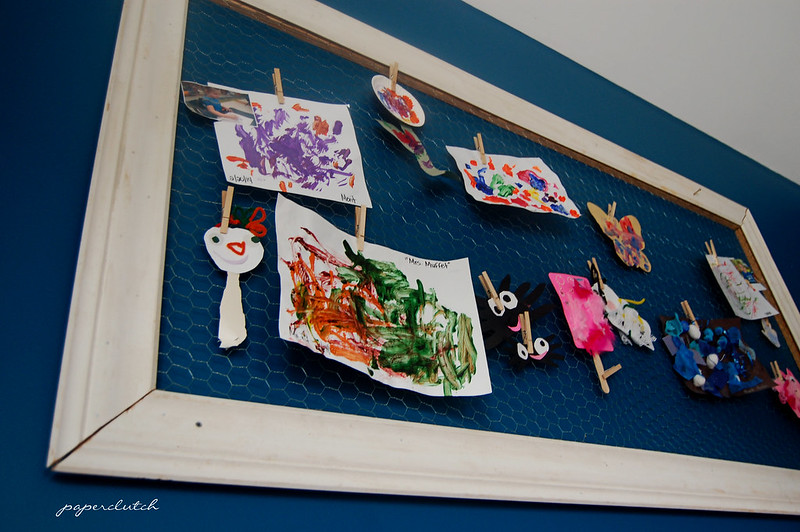
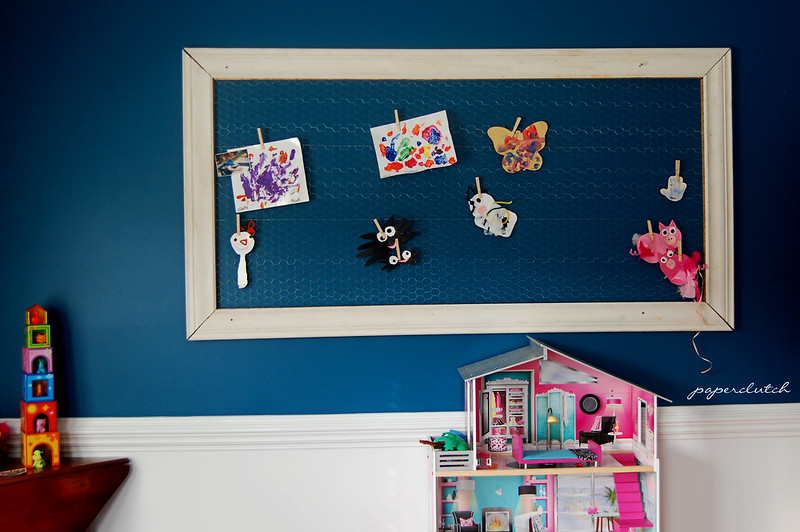
Kids art display - chicken wire But let me be honest,  as  much as I love my children's art, it has literately turned me into a hoarder.  These little gems are all over my house, in my car, and at my office.  I just have a hard time letting go {apologies for those who just started singing the Frozen song right then}.

The fridge could handle no more so I enlisted the help of my husband to construct a top of the line art display. 
Kids Art Display
Unfortunately, I do not have step by step instructions, but I will give you a brief overview of how he did it.

What you will need:
Frame - constructed yourself or purchased
Chicken wire
Heavy Duty Staple Gun 
Wire cutters
Clothes pins

What to do:

1) Construct a frame. We used crown molding found under our house.  Anything would work here, even a large picture frame if you don't have the tools to construct your own. I think using up-cycled wood gave the frame extra character, not to mention it was free.  I like free.

2) Flip the frame over and measure out how much chicken wire is needed to cover the back side of the frame.  Cut the wire to size, about 1 -2 inches larger than your opening,  then staple it on one short side and work your way across, making sure the wire is pulled as tight as possible when you staple. This was tricky. We were not able to get ours completely flat but it added to its charm.

3) Hang your art display.  My husband drilled that sucker directly into the wall since it was so heavy. You could also use picture hanging hooks if your frame is smaller.

4) Last but not least, add your little one's creations using clothes pins.


Kids Art Display BArtDisplayA Tada, you have a nice spot for all of your kids doodles. 


Tuesday, June 24, 2014

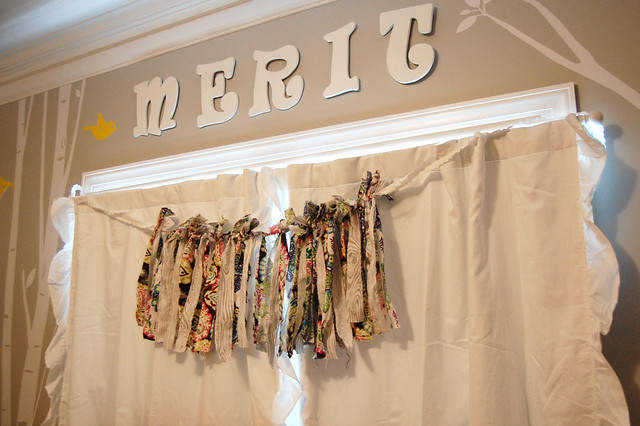
Pretty little backdrop

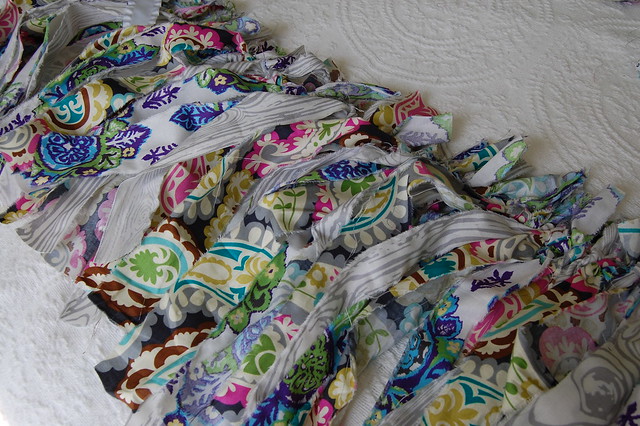
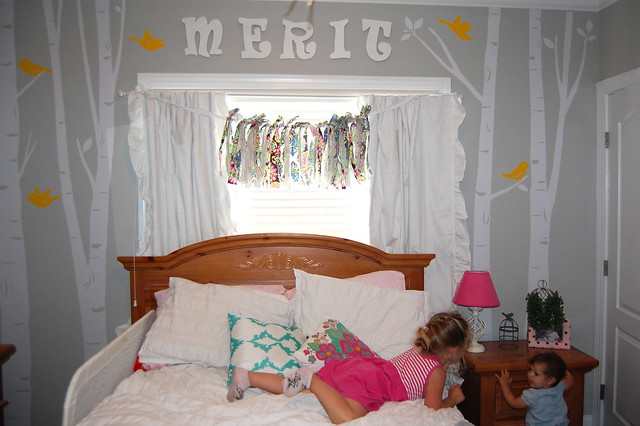
I am in LOVE with fabric garland, and thank goodness it is so simple to make. You may find yourself dressing up every window or party with these beauties.
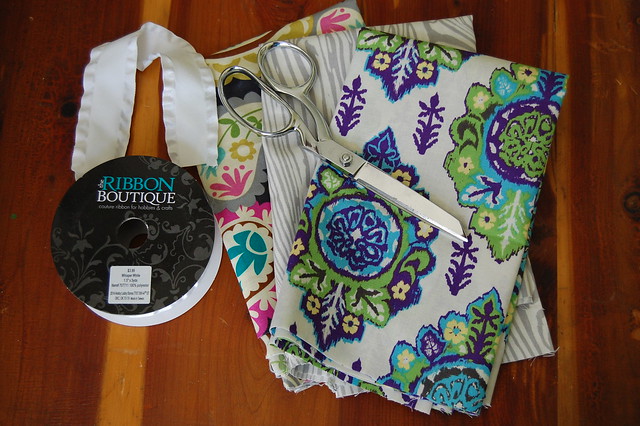
18You can even turn one into a fancy dress up skirt for your little one in a pinch. 11 All you need:
*Several pieces of fabric - between 1/2 - 1 yard. {I  was feeling cheap this day so I only grabbed 1/2 yard of  each. In hindsight I would have grabbed a yard.}
*Scissors
*Ribbon
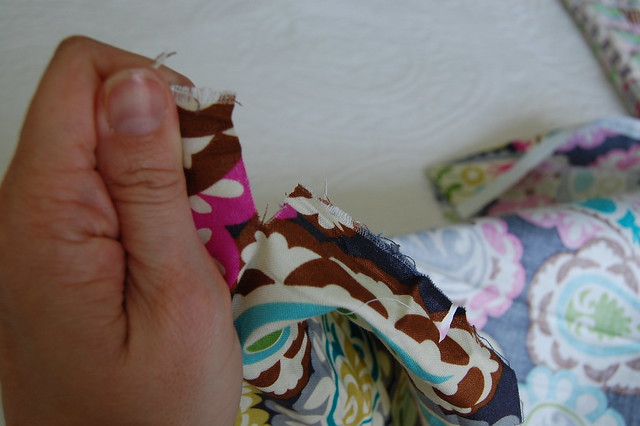
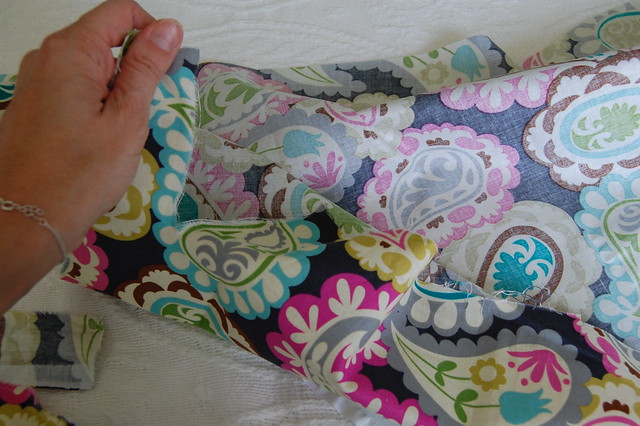
1Cut slits in your fabric about 1-2 inches apart then rip the fabric into ribbons.  If you are perfectionist and ripping fabric makes you nervous, or could lead to a panic attack, feel free to use scissors. Personally I find it to be very therapeutic.

4GRRRRR
3
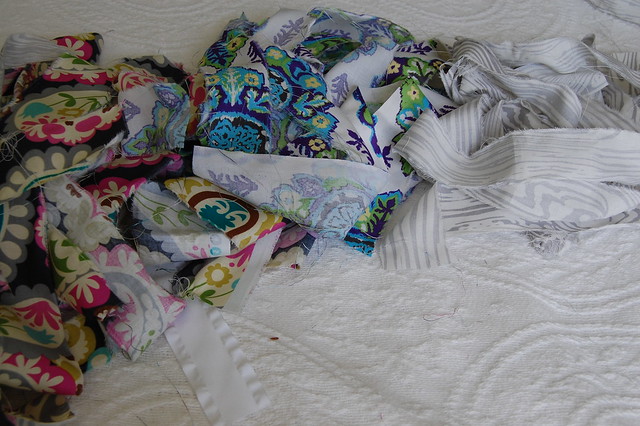
Keep ripping that fabric until you have a heap of little fabric strips.
5
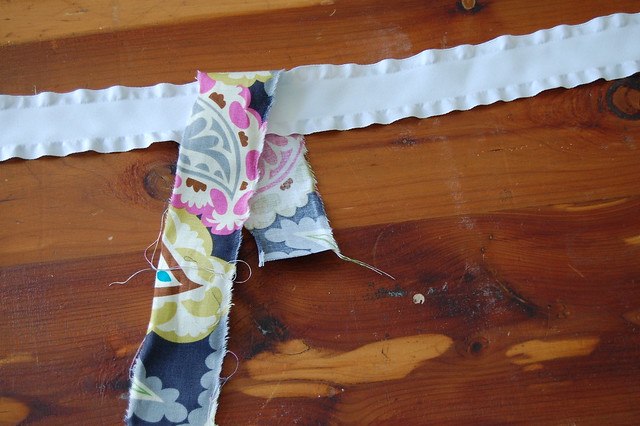
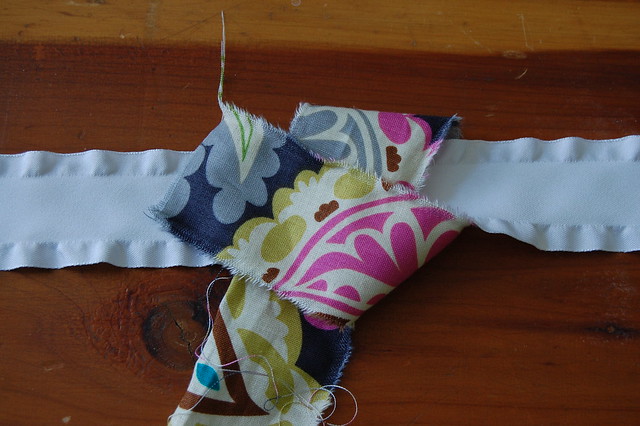
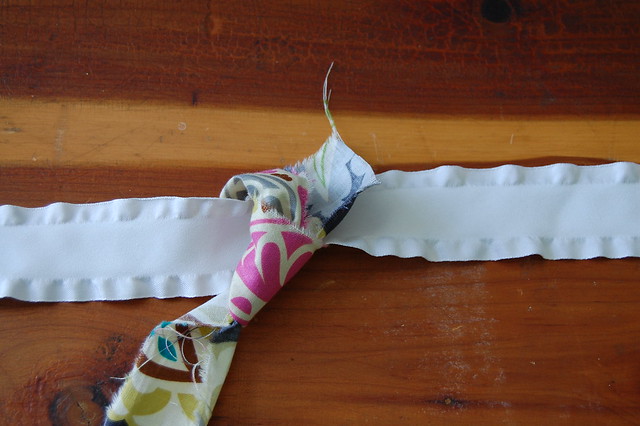
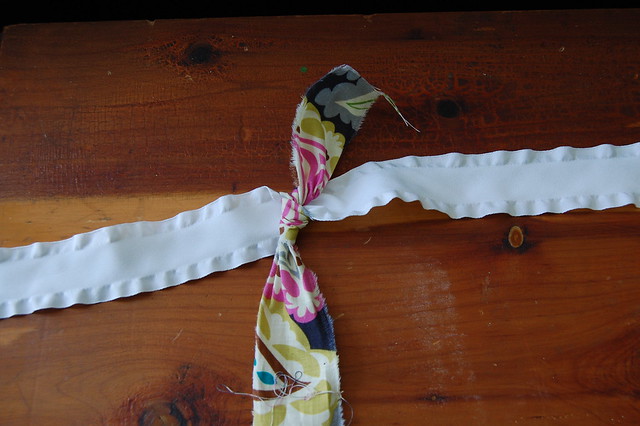
Then simply hook a fabric strip around the the ribbon and tie a knot.
6
7
8
9
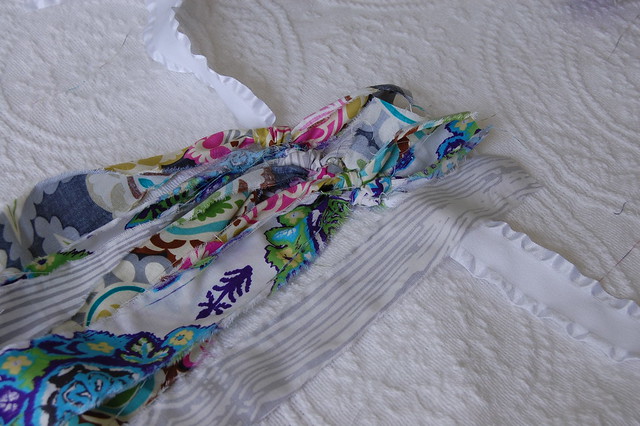
Work your way down until you have your desired length.
10
Tada, you've got yourself some fancy fabric garland.
13


Wednesday, March 16, 2011

Paper Bag Koozie Tutorial!

kooziecraft

St. Patty's day is less than a day away and you my friends need to be prepared!

First don't forget to plan an outfit tomorrow that contains some green- and don't forget about the kids; they are more likely to reap the consequences and get a pinch or two.

Second- Make an awesome koozie for your beverage of choice, if your having a St. Patty party make one for all of your guest - So you are thinking- why paper bag? Well when I travel to my parents house and they send me home with some frozen goodies they wrap it in a paper bag. I am no scientist but apparently it helps keep the food cold. So I thought this may work for a beverage too. Not to mention when you make your guest their own personal koozie you can personalized them so no one tries to steal someone elses booze.

What you need:
paper bag
duck tape
Velcro
scissors
x-acto knife - or box cutter {I know I live on the edge}

DSC_0890


1.Cut your paper bag to size. You can make several koozies out of one paper bag
Can: 4" x 9"

You could make one for a bottle too. Just wrap a piece of paper around one and create a template.

2. Flip the cutout over to the side you don't want visible and start layering the back with duck tape. I left 1/2 inch on the top and bottom. Don't worry if your sides are not even. You will trim them later. I used 2 layers of duck tape.
DSC_0895
DSC_0896

When you flip the cutout back over the piece will look like this:
DSC_0897

3. Now trim the sides. I keep the sides 1/2 inch like the other sides.
DSC_0902

4. Before you start folding the sides over you need to cut out the duck tape corners on each side. I use an box cutter to cut these out- an x-acto knife or scissors are probably a safer bet.
DSC_0905

DSC_0904

5. Now fold all of the sides up.
DSC_0907

6. Now it is time to attach the Velcro. The easiest way to do this is put both pieces together and then take the backing off one side and attach it. Then take the backing off the other piece {still attached} and wrap the koozie around the can and attach. This will insure koozie is the right size.
DSC_0908

DSC_0912

Ta-da! You've got a paperbag koozie
kooziecraft

Now Relax and enjoy your St. Patty's day!

Monday, March 14, 2011

A Paper-Clutch Menu Planner Tutorial

MenuPaperclutch


{UPDATE} Not Crafty? You can purchase one of my meal planners in my Etsy Shop


So not only do I have a tutorial for making a paper clutch but also a printable. Combine the two and you have a pretty sweet meal planner. Yep I said meal planner. I am a sucker for planning, especially meals. I swear by it. It makes life so much easier when you know in advance what you are going to cook for the week not to mention it saves a ton of money...how many times do you eat out each week because you don't know what to cook??? Need I say more.

If you are not into meal planning you can replace the printable with regular 8.5 x 11 paper or if you don't feel like crafting feel free to just print the menu planner below.

You will find the printable menu planner here:

Double Sided
Single Sided
Menu Planner Only

What you need:
*menu planner printout or plain white paper
*2 sheets of 12x12 cardstock. Make it Eco-chic by using a paper bag!
*scissors or cutting board
*hole puncher
*ruler
*glue
*2 brass brads


DSC_0854

1. Print the menu planner out double sided and fold in half. You may have to play with your printer in order to get it to print double sided. Some printers do not print double sided so you will have to feed the printout back through the printer. I promise this will be the hardest part. I printed out 6 sheets for my clutch. This will allow for 12 weeks of meals.
Choose as many sheets as you wish but know that too many sheets will make your clutch bulky and not line up correctly.

2. Next cut a piece of 12x12 cardstock into a 9x12 sheet and fold it in half. This will be the cover. Note the picture above. The cover will be slightly larger than the printouts.

3. Now you are going to connect the cover to the printouts by putting two holes through the sheets using a hole puncher. I measured the holes based on the size of the hole puncher to make it easier. You may want to clip the cover to the printouts to insure it is lined up correctly before punching the holes. Each hole was one hole punch away from the edge.

DSC_0855
Then use two brass brads to connect the pages to the cover.

DSC_0857
When you open the clutch up it will look like this with the two brass brads.

DSC_0858


4. Now you have a neat little book but in order to turn it into a clutch you need to add the pocket and flap. Next take a new piece of 12x12 sheet of cardstock and cut it into 3 pieces. One 5.75" x 9" (pocket) and two 5.75" x 3" (sides) pieces.
DSC_0863

4. Fold the small pieces into an accordion by folding each piece in half {pattern side facing the inside then folding each half in half again {sounds confusing...see the pictures below}.
DSC_0864

DSC_0865

DSC_0866


5. Now you will want to glue the accordion pieces to the pocket, one on each side. Once these pieces are dry, glue the edge of pocket to the back cover of the clutch.
DSC_0867

DSC_0868

Your final piece will look like the picture below.
DSC_0869


6. Now for the flap. Use a scrap from the cardstock you cut. My flap measured 6 x 8.75. I measured in 2" and folded allowing a 4" flap. Once folded insert the two inch flap into the pocket and glue it down. You can be creative with your flap...cut it smaller for a latched look.
DSC_0870 DSC_0871
Add a some velcro to keep the clutch closed or even a button. I also added rhinestones to the flap. Be creative make it yours.

Now you have one really awesome clutch to keep all of your menu and grocery list's tidy. What I love most about this clutch is that it has a pocket to keep all of those coupons in!

pic2menu