Pages
Monday, November 2, 2015
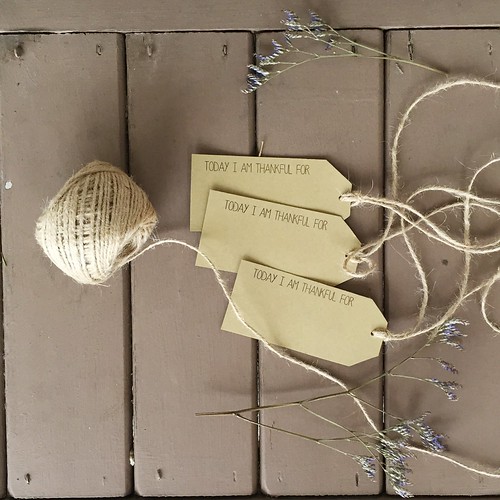
I am thankful for...

Friday, October 23, 2015
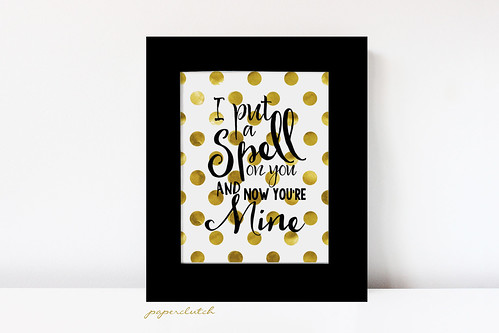
Halloween Poster

This download is free until Sunday, October 25th at 2pm. After Sunday use the code
"HOCUSPOCUS" to get $5 off the digital download in my shop.
Wednesday, October 14, 2015
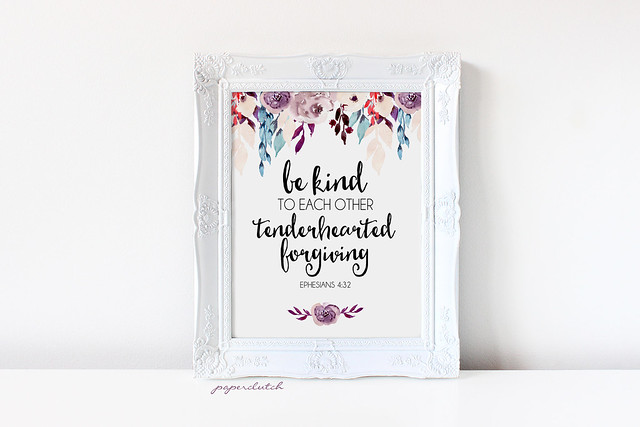
Forgiveness

What I have learned is that forgiveness is not organic for me. It is something I have to choose every day when I wake up and close my eyes at night.
Day after day I will choose to "be kind, tenderhearted, and forgiving" - Ephesians 4:32 until myself and forgiveness become organic {something that fit together harmoniously}.
I created this poster as a reminder of my challenge and wanted to share it with you all.
It will be available for free download until October, 21st 2015 so get it while you can. If you miss it you can purchase the poster at my etsy shop.
Check out #21forgivingdays created by @nocookpaleo
Thursday, July 17, 2014
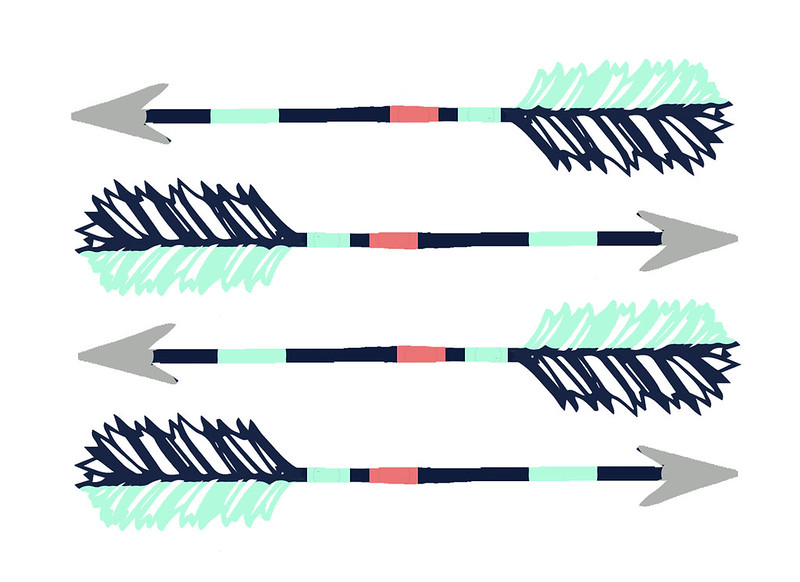
Cards in a pinch

I have been trying really hard this year to send more notes in the mail. I just love getting fun mail. It makes me feel special, that someone took the time out of their day (and spent 49 cents) to make me smile.

Find the arrow card HERE.

Saturday, June 28, 2014
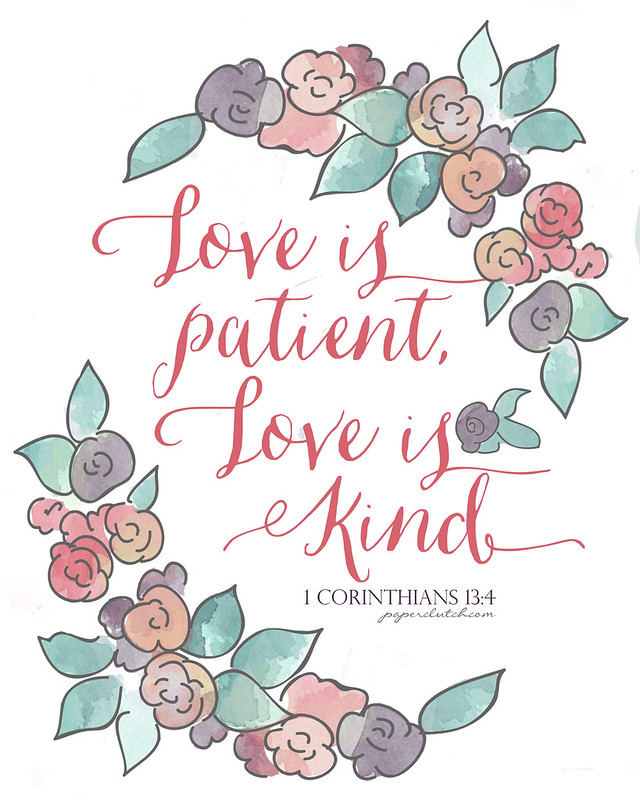
Love is Patient, Love is Kind - Free Printable

Wednesday, March 30, 2011
Is it Wednesday Already?

Wow...I just realized it is already Wednesday and I have failed to post anything so far this week. To apologize I have a printable for you guys!
I am in love with Martha Stewart's wrap around labels. I know, I know some think that using labels on any invitation is tacky and impersonal but, my friends, these labels are too cute. Admit it, you would not dare throw away an envelope that is as cute as this? I took Martha's template and added a bit of swirl, check out my template here.
Thursday, March 17, 2011
Oops...did you forget your green today?
They should work with Avery 5160 or 5960
St. Patrick Day Labels


Happy St. Patrick's DAY!
Monday, March 14, 2011
A Paper-Clutch Menu Planner Tutorial
{UPDATE} Not Crafty? You can purchase one of my meal planners in my Etsy Shop
So not only do I have a tutorial for making a paper clutch but also a printable. Combine the two and you have a pretty sweet meal planner. Yep I said meal planner. I am a sucker for planning, especially meals. I swear by it. It makes life so much easier when you know in advance what you are going to cook for the week not to mention it saves a ton of money...how many times do you eat out each week because you don't know what to cook??? Need I say more.
If you are not into meal planning you can replace the printable with regular 8.5 x 11 paper or if you don't feel like crafting feel free to just print the menu planner below.
You will find the printable menu planner here:
Double Sided
Single Sided
Menu Planner Only
What you need:
*menu planner printout or plain white paper
*2 sheets of 12x12 cardstock. Make it Eco-chic by using a paper bag!
*scissors or cutting board
*hole puncher
*ruler
*glue
*2 brass brads
1. Print the menu planner out double sided and fold in half. You may have to play with your printer in order to get it to print double sided. Some printers do not print double sided so you will have to feed the printout back through the printer. I promise this will be the hardest part. I printed out 6 sheets for my clutch. This will allow for 12 weeks of meals.
Choose as many sheets as you wish but know that too many sheets will make your clutch bulky and not line up correctly.
2. Next cut a piece of 12x12 cardstock into a 9x12 sheet and fold it in half. This will be the cover. Note the picture above. The cover will be slightly larger than the printouts.
3. Now you are going to connect the cover to the printouts by putting two holes through the sheets using a hole puncher. I measured the holes based on the size of the hole puncher to make it easier. You may want to clip the cover to the printouts to insure it is lined up correctly before punching the holes. Each hole was one hole punch away from the edge.
4. Now you have a neat little book but in order to turn it into a clutch you need to add the pocket and flap. Next take a new piece of 12x12 sheet of cardstock and cut it into 3 pieces. One 5.75" x 9" (pocket) and two 5.75" x 3" (sides) pieces.
4. Fold the small pieces into an accordion by folding each piece in half {pattern side facing the inside then folding each half in half again {sounds confusing...see the pictures below}.
5. Now you will want to glue the accordion pieces to the pocket, one on each side. Once these pieces are dry, glue the edge of pocket to the back cover of the clutch.
Your final piece will look like the picture below.
6. Now for the flap. Use a scrap from the cardstock you cut. My flap measured 6 x 8.75. I measured in 2" and folded allowing a 4" flap. Once folded insert the two inch flap into the pocket and glue it down. You can be creative with your flap...cut it smaller for a latched look.
Add a some velcro to keep the clutch closed or even a button. I also added rhinestones to the flap. Be creative make it yours.
Now you have one really awesome clutch to keep all of your menu and grocery list's tidy. What I love most about this clutch is that it has a pocket to keep all of those coupons in!
Monday, October 6, 2008
Free Printable Recipe Cards