

 But let me be honest, as much as I love my children's art, it has literately turned me into a hoarder. These little gems are all over my house, in my car, and at my office. I just have a hard time letting go {apologies for those who just started singing the Frozen song right then}.
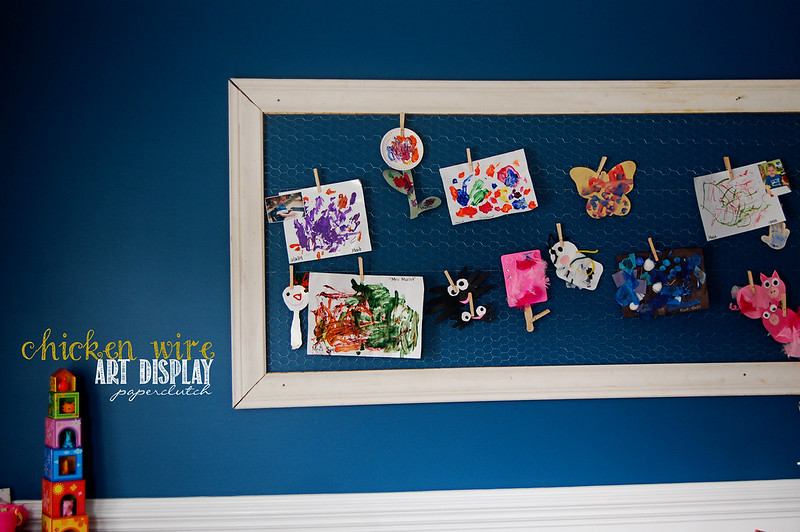
The fridge could handle no more so I enlisted the help of my husband to construct a top of the line art display.
Unfortunately, I do not have step by step instructions, but I will give you a brief overview of how he did it.
What you will need:
Frame - constructed yourself or purchased
Chicken wire
Heavy Duty Staple Gun
Wire cutters
Clothes pins
What to do:
1) Construct a frame. We used crown molding found under our house. Anything would work here, even a large picture frame if you don't have the tools to construct your own. I think using up-cycled wood gave the frame extra character, not to mention it was free. I like free.
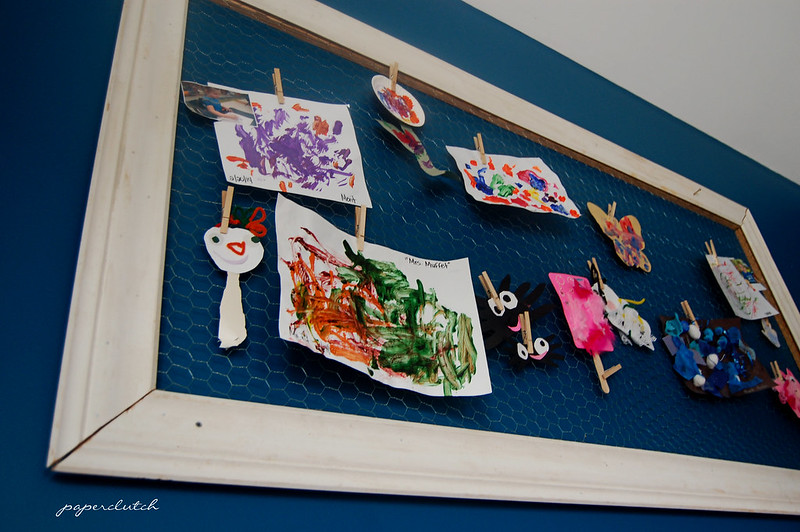
2) Flip the frame over and measure out how much chicken wire is needed to cover the back side of the frame. Cut the wire to size, about 1 -2 inches larger than your opening, then staple it on one short side and work your way across, making sure the wire is pulled as tight as possible when you staple. This was tricky. We were not able to get ours completely flat but it added to its charm.
3) Hang your art display. My husband drilled that sucker directly into the wall since it was so heavy. You could also use picture hanging hooks if your frame is smaller.
4) Last but not least, add your little one's creations using clothes pins.
 Tada, you have a nice spot for all of your kids doodles.

0 comments:
Post a Comment